


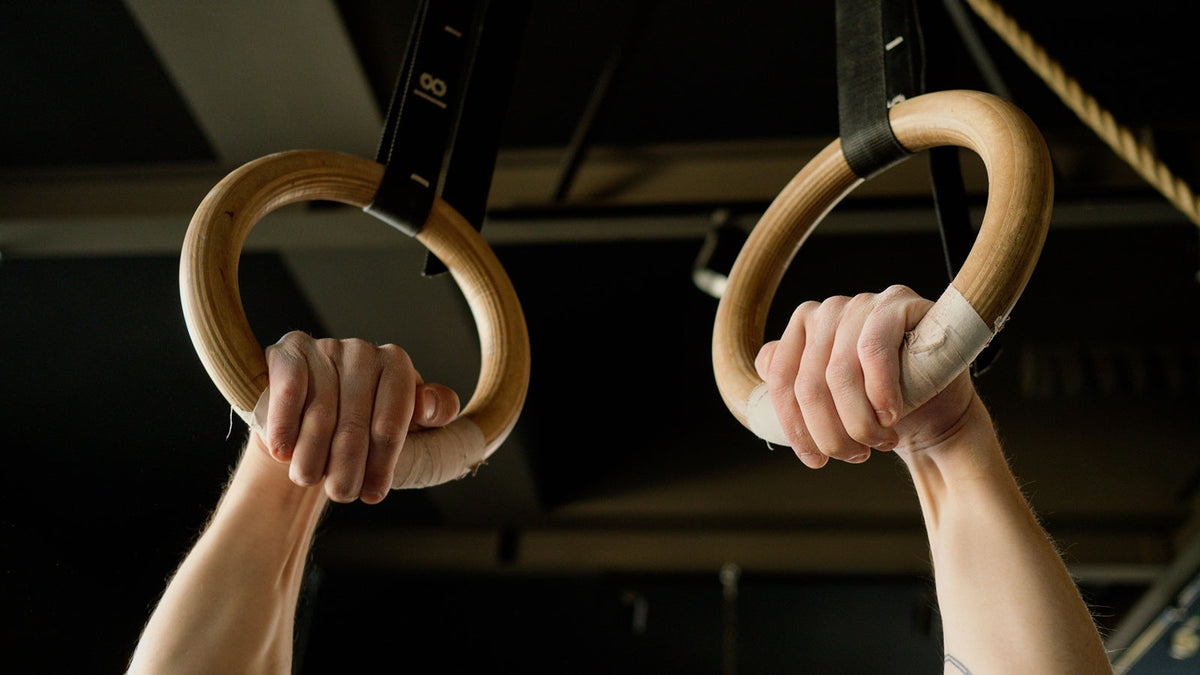
You are a few weeks of pulling strength away from your front lever, but your hands open every time you tuck. That is the grip part nobody tells you about. Calisthenics coaching is almost always about scapular control, the hollow body and lat engagement. Grip barely comes up unless someone is taping their hands before a muscle-up. That is a gap, and it stalls a lot of athletes who are otherwise making good progress.
This article is for serious calisthenics athletes working toward advanced skills (front lever, one-arm pull-up, muscle-up, planche) who keep hitting grip as an unexpected ceiling. It covers what kind of grip each skill actually asks for, why bar and ring grip train differently, how to build a false grip from scratch, and how to fit grip work into a skill-heavy program. The fundamentals are in the Grip Training Encyclopedia, and the Grip Training for Sports hub covers calisthenics alongside other sports.
Grip Demands Across Calisthenics Movements
Calisthenics skills do not all tax the grip the same way. A front lever is a sustained static hold: supporting grip under bodyweight for time. A bar muscle-up needs a false grip held through the pull. A one-arm pull-up puts your full bodyweight on one hand. These are different demands, and the training should reflect that.
| Movement | Grip Type | Endurance or Strength | Common Failure |
|---|---|---|---|
| Front Lever | Supporting (overhand, full-hand wrap) | Endurance: a hold of 3–10+ seconds | Fingers open before the shoulder position breaks |
| Muscle-Up (bar) | False grip with the wrist bent | Strength: a brief, explosive transition | The false grip slips during the pull; the wrist rolls off the bar at the transition |
| Muscle-Up (rings) | False grip plus ring stability | Strength and coordination | Rings turn under load; the grip slips or the wrist straightens on the catch |
| One-Arm Pull-Up | Supporting (one hand, maximum load) | Strength: full bodyweight on one hand | Grip gives out partway up, before the pull is finished |
| Planche | Pressing on the palms with the wrist bent back | Endurance: wrist extension under load for time | Wrist fatigue or discomfort ends the hold before the shoulders give out |
| L-Sit / V-Sit | Pressing (bar or parallettes) | Endurance | Finger fatigue on bars; wrist discomfort on the floor |
| Dead Hang / Active Hang | Supporting (the foundation) | Endurance | Fingers unwind before the lats have done useful work |
The pattern: static skills need grip endurance, dynamic transitions need grip strength and wrist position, and the one-arm pull-up needs raw one-hand load tolerance. Train all three, but do not treat them as the same problem.
Bar vs. Rings: Why They Are Not the Same Training
A solid bar muscle-up does not automatically carry over to a ring muscle-up, and a front lever on rings feels different from one on a bar. That is not only a strength gap. It is a different grip demand.
Fixed Bar Grip
A fixed bar does not move, so your hand takes all the force without any give from the surface. Bar work builds high-friction, fixed-position supporting strength. Most athletes build bar skills first because the fixed surface gives clear feedback on position. Our pull-up grip guide covers bar grip in full, and that foundation applies directly here.
Ring Grip
Rings add rotation. As soon as you load a ring it can swing, tilt and turn, so your grip has to control a moving surface while it produces force. That works the small muscles of the hand and the wrist stabilizers in a way bar work does not. A false grip is harder to hold on rings because the ring turns under the wrist, and a ring front lever is more taxing than the same hold on a bar. Athletes who only train on a bar often find this out the first time they load a set of rings.
How to Train Both
- Alternate surfaces. One ring day and two bar days a week, or rotate by week. Do not drop either one.
- Ring dead hangs: start with 20-second holds and build to 60. Let the rings move and learn to steady them.
- Build the bar false grip first, then move it to rings once the position is stable on a fixed surface.
- Thick bar work: a thicker bar forces a more open hand and builds finger strength that helps on unstable rings. Fat Gripz fit around a pull-up bar and turn it into a thick bar.
False Grip Development Protocol
The false grip is what makes the muscle-up possible: the wrist sits over the bar or ring instead of below it, so the move from pull to dip does not need a regrip. Most athletes understand this but struggle to build it, because it is uncomfortable (especially on rings) and easy to fake instead of developing properly. Tendons adapt more slowly than muscle, so rushing this progression is the fastest route to wrist pain that sidelines you for weeks.
What a False Grip Actually Is
In a false grip, the fleshy heel of your hand on the pinky side sits on top of the bar or ring, the wrist is bent, and the fingers wrap underneath. That locks the wrist to the implement, so when your elbows bend through the transition your hand is already above the bar instead of having to snap over it at the top. The bar version is easier; on rings the ring turns and presses into a smaller area of the wrist.
4-Week False Grip Build
Do this daily: false grip adaptation needs frequent, low-intensity exposure. Stop any set if you feel pain in the wrist joint. Soft tissue discomfort where the ring presses on your wrist is normal and fades as you adapt.
Week 1, position: bar false grip hang, 3 × 10 seconds, feet on the ground. Focus only on position: heel of the hand on top, wrist bent, fingers below. Move to full bodyweight only when the position holds cleanly.
Week 2, duration: bar false grip hang, 4 × 20 seconds, full bodyweight, keeping the wrist position for the whole hold. Add ring false grip, 3 × 5 seconds, feet on the ground, for exposure only.
Week 3, rings and active work: ring false grip hang, 4 × 15 seconds. Bar false grip pull-ins, 3 × 5 reps (a partial pull from the hang, keeping the wrist position). Bar false grip hold with elbows bent to 90 degrees, 3 × 5 seconds.
Week 4, the transition: ring false grip hang, 4 × 20 seconds. Ring false grip pull-ins, 3 × 5 reps. Bar muscle-up negatives from a false grip, 3 × 3 reps (jump to the top, then lower slowly through the transition). Try a full muscle-up only after finishing this progression without wrist discomfort. Wrist roller work and finger extension bands help build wrist resilience alongside it; both are covered in the equipment section below.
One-Arm Hang Progression
The one-arm pull-up is as much a grip event as a lat event. With your full bodyweight on one hand, the supporting grip demand is higher than in almost any other bodyweight skill. You cannot fake it with two-arm pulling strength alone.
Prerequisites: a 60-second two-arm dead hang and 10 or more strict pull-ups. Build that base first with the pull-up grip guide. Climbers face the same finger loading on one arm, and our climbing grip guide has techniques that carry over well.
- Weeks 1–2, band-assisted one-arm hang: loop a band over the bar and put one foot in it so it takes some of your weight. 3 × 10–15 seconds per arm, 2 sessions a week.
- Weeks 3–4, fingertip assist: hang from one arm and rest two or three fingers of the other hand on the working wrist for a little support. Use less contact as the two weeks go on. 3 × 12–18 seconds per arm, 2 sessions a week. Back off if your wrist or elbow complains.
- Weeks 5–6, offset hang: the working hand grips the bar normally; the other hand holds a towel or rope draped over the bar and takes only a little weight. 3 × 15–20 seconds per arm, 2 to 3 sessions a week. A pair of Monkee Grip Rope Grips looped over the bar works well for the assisting hand. Progress by holding the rope lower so it helps less.
- Weeks 7–8, true one-arm dead hang: free arm at your side. Stop at the first sign of grip fatigue, not at failure. 3 holds per arm at about 70% effort, 2 sessions a week. A good target is 10 seconds or more by Week 8. Around 15 to 20 seconds is a sensible point to start one-arm pull-up negatives.
Static Holds: When Grip Is the Limiter
Here is a test most athletes skip: hold a front lever to failure, then go straight into a normal dead hang and time it. If that dead hang is much shorter than your usual time, your grip is fatiguing during the front lever and cutting the hold short. Fix the grip directly instead of grinding more front lever attempts. The same test works for the planche: if wrist discomfort or finger fatigue ends the hold before your shoulders give out, grip is the bottleneck.
Front Lever: Grip-Specific Fix
The front lever needs a sustained overhand grip under a horizontal body. The skill is about shoulder and lat position, but the muscles that close your fingers are working the whole time. If they are undertrained, they let go first.
- Overhand dead hang to failure after your front lever sets. Record the time. That is your grip ceiling in front lever conditions.
- Open-hand hangs: 3 × 10–15 seconds on the large edges of a hangboard, or on a bar fitted with Fat Gripz. These build the open-hand finger endurance the front lever taxes. The Wood Grips Prime Rib Hangboard and the Metolius Climber's Edge Board both have large edges suitable for this.
- A finishing hang after static work: one set of dead hangs at the end of every front lever block. It trains your fingers in the tired state they need to be resilient in.
Planche: Wrist Position and Grip Fix
The planche loads the wrist bent back, which is different from what most grip training targets. Build it with loaded wrist extension holds (a 5 to 10 lb dumbbell, forearm on a bench with the wrist over the edge, 3 × 20 seconds) and planche lean holds built from 5 to 30 seconds over several weeks. Finger extension work, 3 × 20 against a band after every upper body session, balances all the closing work of calisthenics and helps keep the outside of the elbow happy.
6-Week Calisthenics Grip Support Block
This block runs alongside your calisthenics program, not in place of it. Sessions go after skill work or on separate days, and the volume is deliberately moderate. Effort is on a 1 to 10 scale, where 10 is all you have. For false grip hangs, effort means how well you keep the wrist position: stop when the position slips, not when the muscles tire.
| Week | Day 1 | Day 2 | Time | Effort |
|---|---|---|---|---|
| 1 | Overhand dead hang 3 × 30 sec; bar false grip hold 3 × 10 sec (feet assist); band finger extensions 2 × 20 | Ring dead hang 3 × 20 sec; open-hand hang 3 × 10 sec; wrist roller 2 × 20 sec | About 20 min | 5–6 |
| 2 | Overhand dead hang 3 × 45 sec; bar false grip hang 4 × 15 sec (full bodyweight); band finger extensions 2 × 20 | Ring dead hang 4 × 25 sec; band-assisted one-arm hang 3 × 10 sec per arm; wrist extension holds 3 × 20 sec | About 25 min | 6 |
| 3 | Bar false grip pull-in 3 × 5; ring false grip hang 3 × 15 sec; one-arm hang with fingertip assist 3 × 12 sec per arm | Open-hand hang 3 × 15 sec; wrist roller 3 × 30 sec; band finger extensions 3 × 20 | About 30 min | 6–7 |
| 4 | Ring false grip hang 4 × 20 sec; ring false grip pull-in 3 × 5; offset towel or rope hang 3 × 15 sec per arm | Bar muscle-up negative from false grip 3 × 3; planche lean holds 3 × 15 sec; band finger extensions 2 × 20 | About 35 min | 7 |
| 5 | Dead hang to failure after front lever sets (1 set); ring false grip hang 4 × 25 sec; true one-arm hang 3 per arm at about 70% effort | Thick bar overhand hang 3 × 45 sec; wrist roller 3 × 40 sec; open-hand hang 3 × 15 sec; band finger extensions 3 × 20 | About 35 min | 7–8 |
| 6 | Finisher after skill work: one-arm hang, 2 max holds per arm; ring false grip hang 3 × 30 sec | Full integration: dead hang after front lever sets; planche lean after planche sets; wrist extension holds; band finger extensions to finish | About 30 min | 7–8 |
Deloads follow your main program. In a deload week, drop to one grip session, cut the volume by about 40% and keep hangs easy. Tendon recovery, not muscle fatigue, sets the pace: the tendons in your forearms recover more slowly than the pulling muscles you are also training, so do not squeeze the rest between grip sessions and heavy skill days.
Equipment for Calisthenics Grip Training
The bar and rings you already use handle most of the work. A few additions make the training more specific and easier to progress.
- Gymnastic rings: essential for false grip development and ring-specific grip work. Any sturdy pair of wooden or plastic rings will do.
- Thick bar: Fat Gripz wrap around a pull-up bar and force an open-hand grip that builds the finger endurance static holds and ring work need. Start with the One (1.75 inch) or Pro (2.25 inch).
- Hangboard: open-hand edge hangs build the finger endurance the front lever and one-arm hang ask for, with easy-to-adjust difficulty. See the hangboards collection.
- Finger extension bands: balancing work for anyone doing serious hang volume. Three sets of 20 after every session. Our pick is the IronMind Expand-Your-Hand Bands, five resistance levels in one pack.
- Wrist roller: builds forearm endurance and wrist resilience for the false grip and planche. The Wrist Wrench is our pick, and more wrist tools are in the wrist trainers collection.
The Complete Guide to Grip Training Equipment covers tool choice across every grip type, and the Grip Training for Sports hub organizes tools by sport. If you also train CrossFit-style workouts, our CrossFit grip guide covers tear prevention and high-rep bar work.
Frequently Asked Questions
Why does my front lever fail at the grip first?
The muscles that close your fingers are holding a sustained static grip for the whole lever. If they have not been trained for that kind of hold under load, they tire before your shoulders and lats do. The fix: add overhand dead hangs and open-hand hangs after your front lever sessions. Two to three sets to about 70% of your max hold time is enough to close the gap.
Is the false grip dangerous for wrists?
Not when you progress it sensibly. The risk is loading the wrist before the connective tissue has adapted to the position. The 4-week protocol above handles that: it starts with feet-assisted position work and builds over a month. The rule: joint pain means back off. Soft tissue discomfort where the ring presses on your wrist is normal; sharp pain in the wrist joint under load is not.
Should I do calisthenics grip work on rings or a bar?
Both, for different reasons. Bar work builds fixed-position supporting strength, the base for dead hangs, the front lever and the one-arm hang. Ring work builds the stability you need for ring muscle-ups and ring levers. Start skill-specific grip work on the bar, then move it to rings once the position is stable. Keep both in your training: they do not replace each other.
How long until I can do a one-arm hang?
From a solid two-arm base (a 60-second dead hang and 10 or more pull-ups), many athletes reach 10 to 15 seconds per arm by the end of the 8-week progression above, which is a sensible point to start one-arm pull-up negatives. Everyone adapts at a different rate. Athletes who skip the assisted and offset stages often get there more slowly, because wrist or elbow discomfort forces time off.
Are thick grips useful for calisthenics?
Yes. A standard bar lets your fingers wrap fully. A thick bar forces a more open hand, which is closer to how the fingers are loaded in many static holds. Adding thick bar dead hangs two to three times a week, with Fat Gripz on your pull-up bar, carries over well to front lever and one-arm hang work.
Can finger strength training slow my recovery for pull days?
It can if the volume is too high or the timing is wrong. Finger and forearm tendons need a couple of days to recover from hard grip work, and longer after sets to failure or heavy hangs. Do grip work after your main skill training, stay within the volumes in the table, and treat unusual forearm soreness as a sign to cut volume next session. Your lats will be ready before your tendons are.
When should I start grip work for calisthenics?
Dead hangs belong in your routine from day one: they build supporting endurance and cost almost nothing. The dedicated sessions in this block are worth adding once you are working on advanced skills: front lever progressions, muscle-up attempts or one-arm pull-up negatives. Waiting until grip is obviously the limiter means you have already lost training time.
0 comments